Friday, April 29, 2011

No Girls Allowed!

It's time for another Copic/Promarker challenge over at The Outlawz.  Our theme this week is Colouring Wood. For my project I've used a digi by one of our lovely Outlawz DTeamies, Amy Beaver. As soon as I saw this image I knew what I wanted to do with it :)  I've made a door hanger that would be perfect for a boy's room. I'm not sure if Amy is selling her digis yet but I'm sure if you paid her a visit and contacted her, she could arrange for you to get it :)

Here's the hanger:

The wooden door hanger is from Kaiser. I've painted it black on all the edges and the back, then papered the front with some retired Kaiser DP. I grunged the DP up a bit with some grey ink sponging and printed the wording on the computer.

Thanks for looking. Hope you'll come on over and play along with us this week.
Have a wonderful day :)

Supplies:
CS:  X-Press It blending card
DP:  Kaiser (retired)
Stamp:  Treehouse by Amy Beaver
Colouring:  Copics, glitter pen (for the nails)
Other:  Kaiser wood door hanger, SU Going Grey Ink Pad, Foam dots, computer generated wording

Friday, April 22, 2011

Youth Fairy

It's Friday and time for another challenge over at The Outlawz Copic/Promarker group. This week's theme is Anything Goes...an easy one...so come along and join us. We'd love to see what you create :)

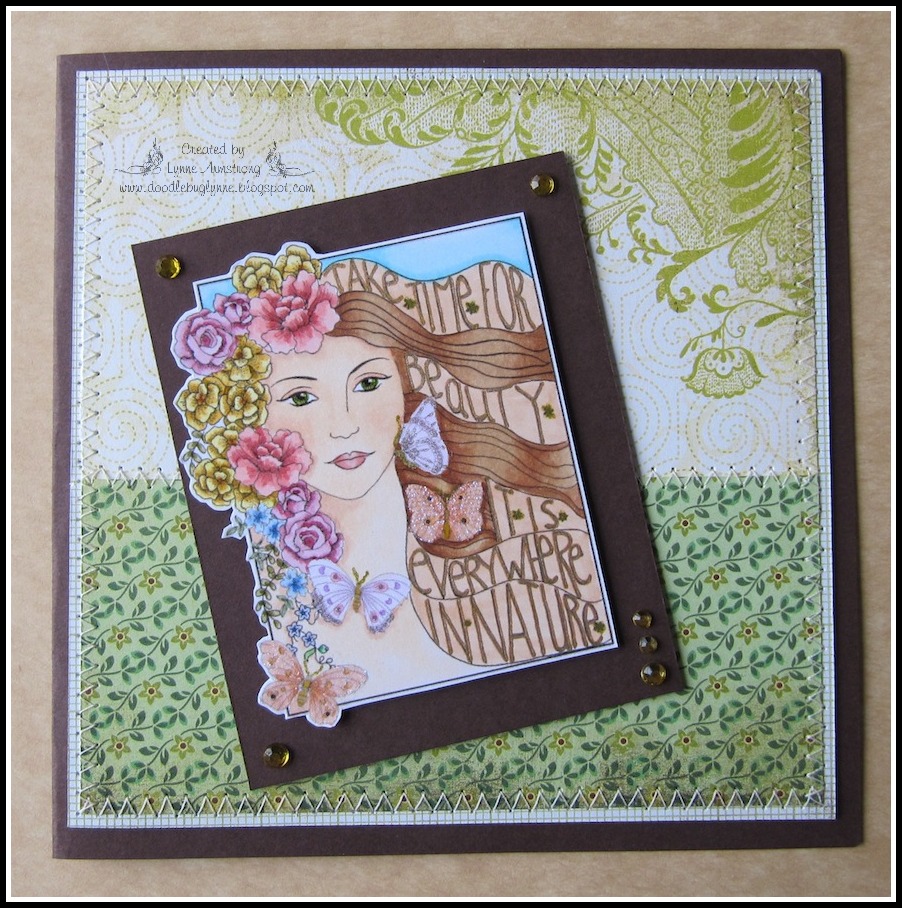
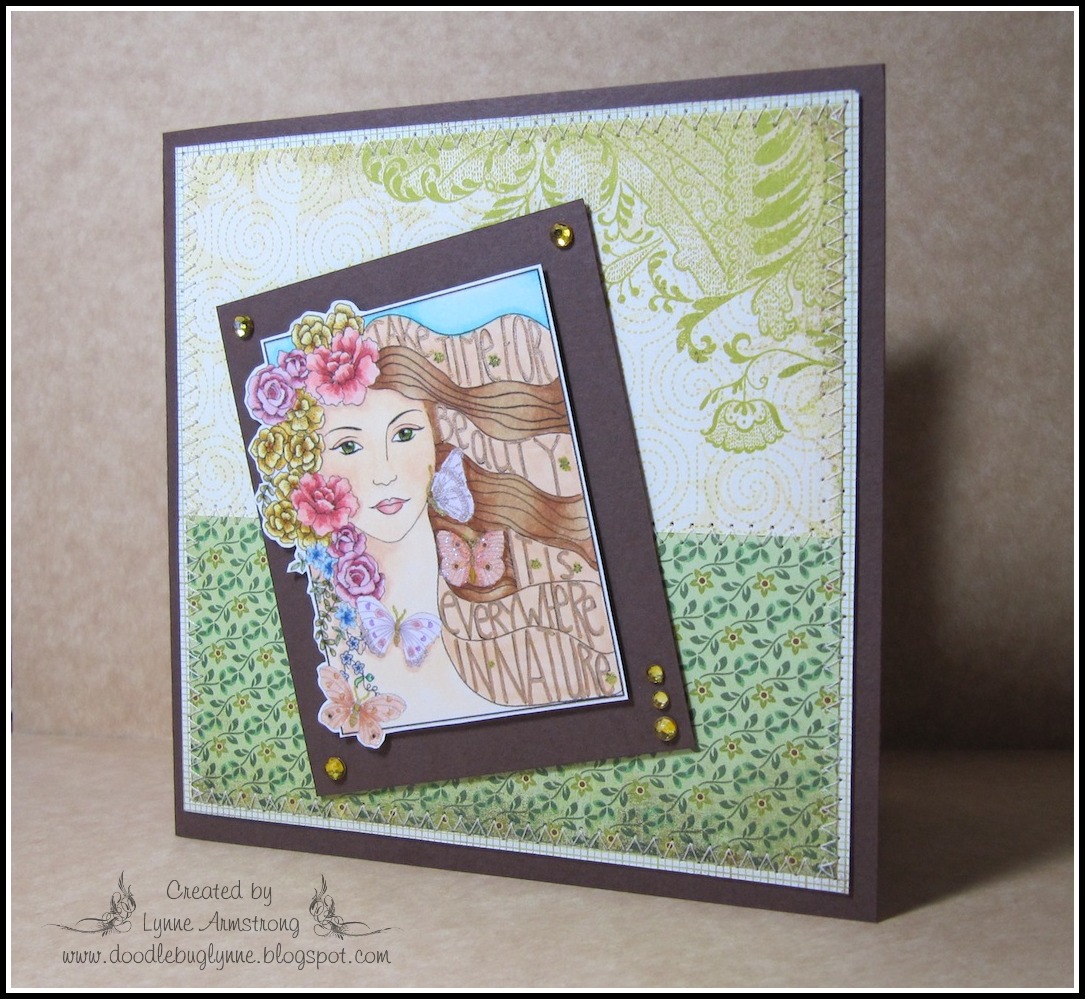
I saw this fairy at Mo's Digital Pencil a while back and loved her 'real woman' body lol...there are 3 of these fairies to choose from and they are all very cute! I wanted to make a birthday card for a friend with a good sense of humour and remember seeing a card on a blog somewhere with a male fairy and this wording:
"Many years ago the Youth Fairy flew into your bedroom and, waving her wand, said  "..... shall be forever young"  then inside the card it says...  "but you rolled over and squashed her and now look what happened!!"  I'm generally pretty good at noting where I find things I want to use, so that I can give credit to the creator, but this time I've been very remiss and not noted the blog address :(  If anyone knows who posted the original card, could you please let me know so I can post a link back to their card.


The frame around the gorgeous fairy is one of Penny Duncan's Shaplies files. Penny is the most amazingly generous lady...all her cut files are FREE to download from her blog HERE. So if you have an electronic cutter, go check out Penny's site...and leave her some love for all her generosity :)  I think some of the files are also available as PDF for those who don't own a cutter. Penny also has some free digital stamps to download...so hop on over there and say hello to her :)

Here's a close-up of the lovely lady :)  She reminds me of a sassy fairy godmother lol!!

Thanks for looking...have a wonderful day :)

Supplies:
CS:  X-Press It blending card, SU River Rock & Purely Pomegranate
DP:  Basic Grey from the Lemonade paper pad
Stamp:  Fairy 3 from Mo's Digital Pencil
Colouring:  Copics, glitter pens
Other:  Sewing machine, superfine glitter, PDC Shaplies, KNK Maxx, American Crafts rhinestone brads, fairy charm (was an earring!) & jewelry spacer from stash, computer generated wording, SU Ticket Punch, foam dots

Saturday, April 16, 2011

Easter Bunny Box

Well, I'm on a roll since getting back to crafting. The poor house still looks disgusting coz I haven't done the housework yet :(  Tomorrow maybe...today is work...YUK!

For the Pollycraft challenge this week I thought I'd make a treat box. The theme is Easter so I wanted something big enough to put small eggs in. This is what I came up with:


The cute little bunny is from Spring & Summer Things by Pollycraft. I've coloured him with Prismas...more practising lol  I'm really enjoying the pencils. They are very different to Copics of course, but that's what I like about them...a completely different effect :)  The box template and instructions can be found on Splitcoast under the resources tab. It's a really quick & easy box to make up. The Easter egg paper is digi from Digichick.

And open:


Thanks for looking...have a wonderful day :)

Supplies:
CS:  Splendorgel 190 for image, SU Blue for mat
DP:  Digi paper from The Digichick Shop
Stamp:  Spring & Summer Things Bunny from Pollycraft
Colouring:  Prisma pencils & OMS, glitter pens
Other:  SU Crystal Effects, glaze pen, foam dots, SU Large Oval & Ticket punches

Friday, April 15, 2011

Flower Girl

I'm baaaack!! Sadly I missed last week's challenge at The Outlawz...I had to use a card from last year as I just couldn't get any free time to create a new project :(  We've had visitors, conference and more visitors over the last 2 weeks...not to mention still keeping up with the work stuff!!  I loved having the visitors and the conference was fun...but...I missed my creative time soooo much. I've been having withdrawals!! So it was very nice to sit and make something for this week's challenge...which is Grounding Your Image.

Here's what I came up with:

I've used Flower Girl from the Swings & Slides Set 2 available at Pollycraft. Isn't she sweet :)  I've given her a footpath , some grass and a sponged sky to ground her. The footpath was created by following a tutorial HERE by Amy R at Prairie Paper & Ink.

I also christened my new SU Ticket Punch...sent to me by a lovely Outlawz teamie friend, Maureen.  I've tried everywhere in Aus to buy one of these and they're just not available :(  I LOVE this punch...thanks sooo much Maureen...*waving* :)

AND....drum roll....I've PUT A FLOWER EMBELLIE ON MY CARD LOL!!  I'm not good with embellies...put them on and then usually take them off again!! Especially flowers...love them on everyone else's cards but struggle to use them on mine!

Here's a close up of the lovely little flower girl:

I hope you'll come and join us for this week's challenge...we'd love to see how you ground your images.
Thanks for looking...have a wonderful day :)

Supplies:
CS:  X-Press It blending card, SU Always Artichoke
DP:  Tea at Elsie's from Kaiser
Stamps:  Flower Girl from Pollycraft's Swings & Slides Set 2, SU Teeny Tiny Sentiments (For You)
Colouring:  Copics, Glitter pens, SU Baja Breeze stamp pad
Other:  Copic Olive Multiliner, foam dots, flowers from stash

Just For You

Well...we've been to our conference, all the visitors are gone and I think I'm nearly up-to-date with the work stuff...YAY!  I'm sooooo tired that I can't really be bothered doing anything (meaning the housework, which badly needs done) so last night I sat and played with my poor neglected Prisma pencils. I've been wanting to practise colouring with them since I bought them and haven't seemed to find the time...or the confidence to have a go. Thanks to some awesome tutorials and advice from the lovely (not to mention very talented) Dorcas & Dana, I had a much better idea of how to start :)  Thanks so much girls for all your help and encouragement.

I coloured three images last night and decided to make this one into a card to enter into the POM challenge this week over at The Outlawz, which is "Get out of your comfort zone and use a new technique or product"  Well, I can tell you that using the Prismas to colour is well out of my comfort zone right now lol  Here's my card:


This is Teatime Teddy from Cuddly Buddly...isn't he cute :) The gorgeous DP is from the Eva 6" paper pad by Basic Gray. I really enjoyed using my pencils and will be alternating between them and my Copics from now on :)

Thanks for looking...have a wonderful day :)

Supplies:
CS:  Splendorgel 190 for image, SU Bravo Burgundy, CM Heritage Pink
DP:  Eva from Basic Gray
Stamp:  Teatime Teddy from Cuddly Buddly
Colouring:  Prisma Pencils & OMS, glitter pens
Other:  KNK Maxx to cut circles, glaze pen, SU Crystal Effects, Kaiser rhinestones, superfine glitter, foam dots

Friday, April 1, 2011

Time for Beauty

Our challenge theme for the Copic/Promarker Challenge at The Outlawz this week is to Colour an Embellishment.  This one had me putting my thinking cap on for a while because, in case you hadn't noticed, I'm not very good in the embellie department lol. While I love them on everyone else's cards, I struggle to get them on mine and be happy with the end result...I think that's why I stick to fairly CAS layouts...or make 3D stuff!!

This is what I came up with:


I've coloured the Kaiser rhinestones on the mat with my Y26 Copic marker...the photo below shows them better :)  The beautiful image is from Gingerloft Designs. And woo hoo...I stitched on this card! My sewing machine is very happy :)

Here's the bling :)


Thanks for looking...have a wonderful day :)

Supplies:
CS:  Express It blending card, SU Choc Chip
DP:  Origins from Basic Gray (6" paper pad)
Stamp:  Beauty from Gingerloft Designs
Colouring:  Copics, glitter pens
Other:  Superfine glitter, glaze pen, metallic gel pen, Kaiser rhinestones, foam dots

LinkWithin

Related Posts with Thumbnails